A Practical Emergency Guide for Homeowners
A broken window is more than a cosmetic issue—it compromises your home’s security, comfort, and protection from the elements. Whether the damage is caused by severe weather, an accident, or vandalism, an open or shattered window allows cold air, moisture, debris, and pests inside while exposing your home to further damage.
While you’re waiting for professional replacement, taking the right temporary steps can protect your home and prevent minor damage from becoming a costly repair. This guide explains how to secure a broken window safely, which temporary solution works best, and when it’s time to call a professional window contractor.
Why You Should Act Immediately
Windows are a critical part of your home’s exterior envelope. When one fails, it creates multiple risks:
- Water intrusion that can damage drywall, insulation, and framing
- Heat loss and drafts that make rooms uncomfortable
- Security concerns, especially at ground level
- Pest entry through gaps and cracks
Even a well-sealed temporary fix is far better than leaving the opening exposed.
Step 1: Prioritize Safety
Before attempting any temporary repair, make sure the area is safe.
Basic safety precautions
- Wear thick work gloves and safety glasses
- Keep children and pets away from the work area
- Vacuum small glass shards that may not be visible
- Avoid pressing on cracked glass—it can shatter suddenly
If glass is shattered or hanging loose
If broken glass is unstable:
- Apply masking tape in a grid pattern across the pane
- Gently tap with a hammer to fully break remaining glass
- Remove taped shards carefully
The tape helps contain fragments and reduces injury risk during cleanup.
Step 2: Evaluate the Damage and Choose the Right Temporary Fix
The best solution depends on how severe the damage is and how long the temporary repair needs to last.
Cracked but intact glass
- Apply clear packing tape or duct tape over the crack on both sides
- Helps prevent spreading and reduces air infiltration
- Suitable for short-term protection (a few days to one week)
Small breaks or missing panes
- Use heavy-duty plastic sheeting secured with tape
- Effective barrier against wind and moisture
- Works best for smaller openings and short wait times (1–2 weeks)
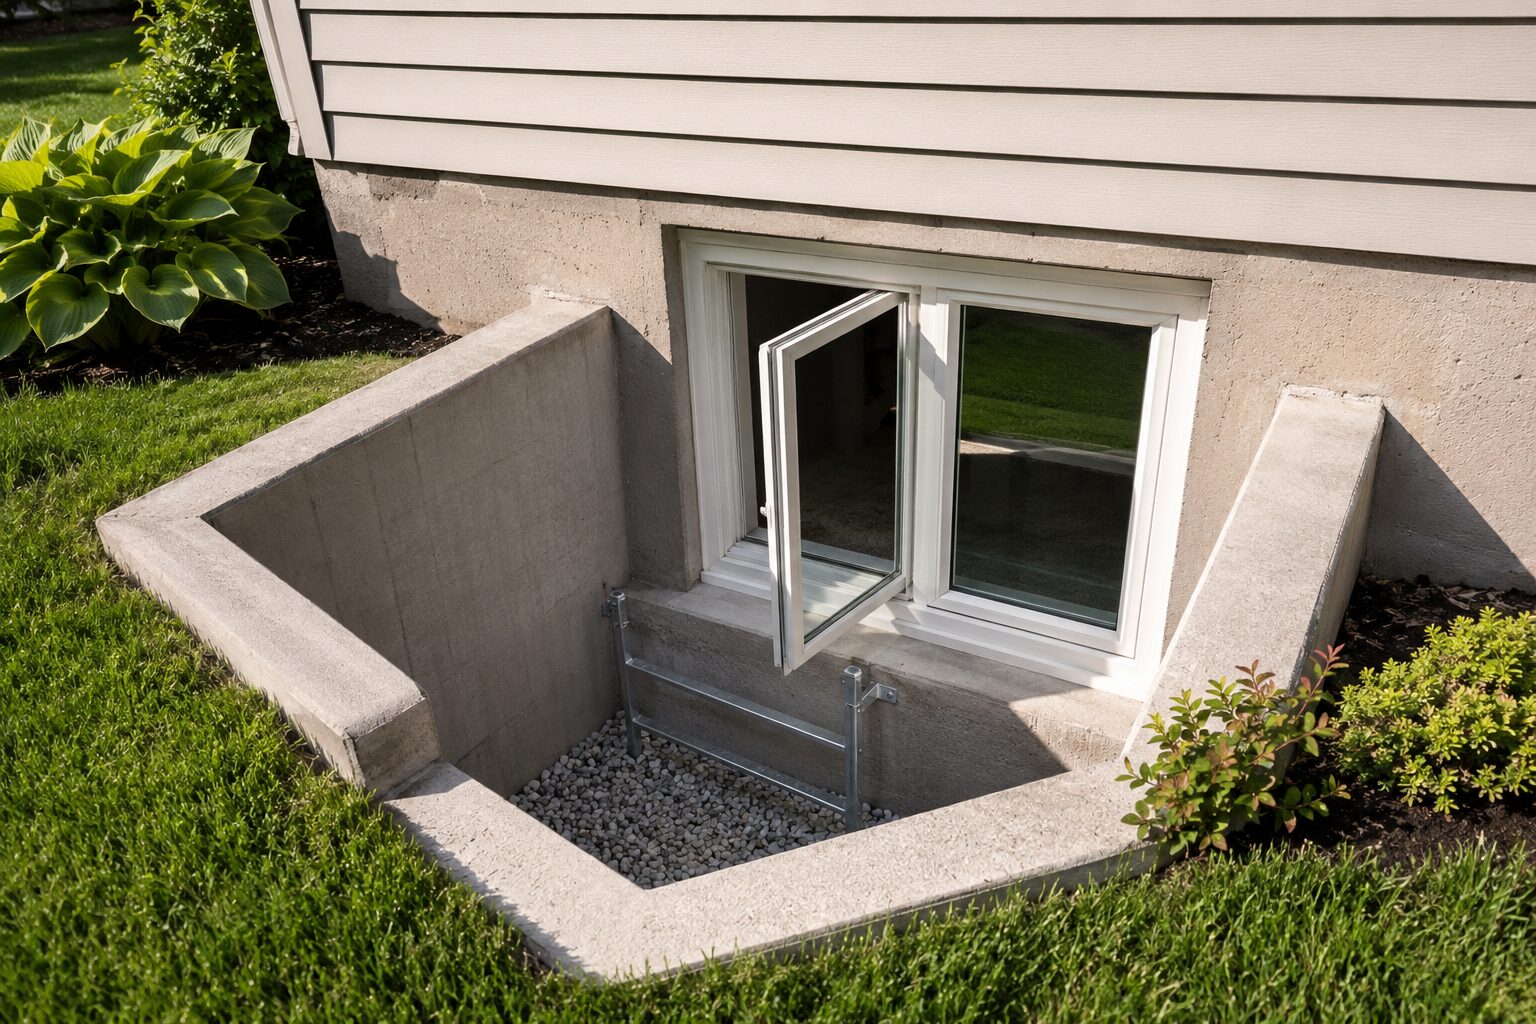
Large openings or fully broken windows
- Plywood boarding offers the strongest temporary protection
- Best for:
- Ground-level windows
- Extended wait times
- Storm exposure
- Security concerns
Step 3: Gather the Right Materials
For plastic sheeting
- Clear plastic sheeting (4–6 mil thickness minimum)
- Duct tape or contractor-grade tape
- Scissors or utility knife
- Measuring tape
- Optional: staple gun
For plywood boarding
- Exterior-grade plywood (5/8″ or 3/4″)
- Measuring tape
- Saw (hand saw or circular saw)
- Power drill with drill bits
- Corrosion-resistant screws (3″ recommended)
- Pencil and sandpaper
Step 4: Temporarily Seal the Window with Plastic Sheeting
Plastic sheeting is a quick solution that still allows some light through.
Installation steps
- Measure the opening
Measure from inside the frame and add 4–6 inches on all sides. - Cut the plastic
Cut to size. For added durability, consider using two layers. - Secure from the top down
Start at the top and tape securely, pulling the plastic taut as you work downward. - Seal all edges completely
Press tape firmly along every edge and corner to prevent gaps. - Reinforce if needed
Add horizontal tape strips or use staples (indoors) before taping for extra hold.
Tip: Sealing the window frame with caulk before installing plastic can help reduce drafts.
Step 5: Board Up the Window with Plywood
For severe damage or longer delays, plywood provides the most reliable temporary protection.
Installation steps
- Measure carefully
- For siding: measure inside trim and add 8 inches total
- For masonry: measure the window recess for a snug fit
- Cut exterior-grade plywood
Use 5/8″ or 3/4″ plywood—thinner material won’t hold up in wind or storms. - Prepare the panel
Sand rough edges and mark screw placement lines 2–3 inches from the edges. - Position and secure
Hold the plywood in place and drill pilot holes every 16 inches. - Fasten into framing
Screws should penetrate at least 2 inches into solid framing. - Seal the perimeter
Apply waterproof caulk or tape around edges to prevent moisture intrusion.
For brick or masonry homes
Window clips or barrel bolts allow plywood to be secured inside the opening without drilling into brick or concrete.
Step 6: Reduce Drafts Around the Frame
Even when the opening is covered, air can leak around the window frame.
Improve sealing by:
- Applying interior caulk around the frame
- Adding weatherstripping where gaps are visible
- Installing foam gaskets behind nearby outlets and switches
These steps help limit drafts until replacement is complete.
Why Temporary Fixes Are Not Long-Term Solutions
Temporary repairs are meant to protect, not restore performance. Even well-sealed coverings don’t provide proper insulation or moisture control.
Delaying replacement increases the risk of:
- Hidden water damage
- Mold growth
- Wood rot around the opening
- Higher repair costs later
When to Call a Professional Window Contractor
Contact a professional right away if:
- The window frame is damaged or rotting
- You see water staining inside the home
- Multiple windows are broken
- The window is on an upper floor
- You’re unsure how to secure it safely
Plan replacement soon if:
- Temporary protection will last longer than 2–3 weeks
- Drafts persist despite sealing
- The window affects curb appeal
- Severe weather is expected
Moving Forward: Permanent Window Replacement
Modern replacement windows offer major advantages, including:
- Double- or triple-pane insulated glass
- Low-E coatings to reduce heat transfer
- Improved frame materials
- Advanced weatherstripping for long-term sealing
Replacing a damaged window promptly restores comfort, protects your home, and improves energy efficiency.
Final Thoughts
A broken window is urgent—but with the right temporary steps, you can protect your home while arranging proper replacement. Acting quickly limits damage and keeps your home secure until professional installation is complete.
If you need expert guidance or replacement services, Window Man Inc proudly serves homeowners throughout Central Indiana with professional window solutions built to last.