A room-by-room action plan that costs less than you think — and saves more than you’d expect.
Published by WindowMan Inc. | DIY Home Maintenance
🛒 What to Buy Before You Start
Inspect, Seal & Caulk
Step 1: The Draft Detective Tour
⏱ 30–45 min
Before you seal anything, you need to find where the leaks actually are. Skipping this step means you’ll miss the real culprits and waste time on areas that are already fine.
- On a windy day, light an incense stick or hold a candle near every window and exterior door frame — if the smoke or flame wavers, you’ve found a leak.
- At night, have someone stand outside with a flashlight aimed at the door edges. If you can see light from the inside, air (and money) is escaping through those gaps.
- Try the paper test on every exterior door: close the door on a sheet of paper — if it slides out easily, the seal is too loose.
- Mark every problem area with a small piece of painter’s tape so you can work through them systematically.
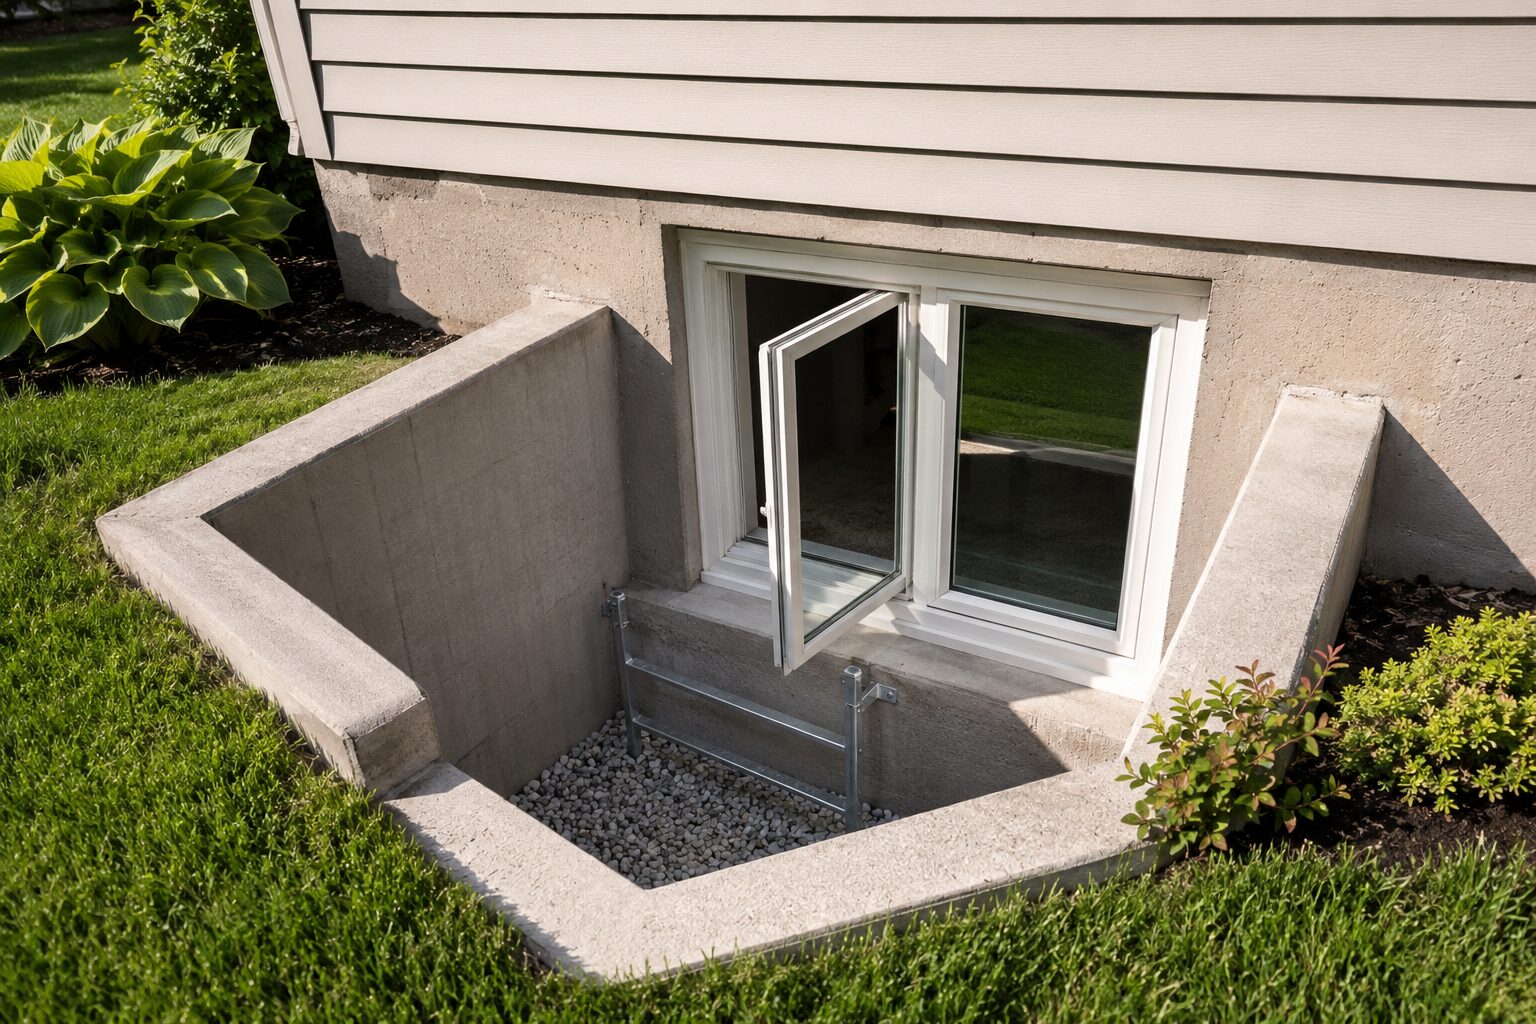
✅ Pro Tip: Don’t forget to check basement rim joists, attic hatches, and mail slots — these are common energy drains that homeowners often overlook.
Step 2: Re-Caulk Windows & Door Frames
⏱ 1–2 hours
Caulk is your first and most powerful weapon against air infiltration. It’s meant for the stationary parts of windows and doors — the frame where it meets the wall, the sill, and exterior trim. It’s not for moving parts like the sash or the door itself.
- Use a utility knife or screwdriver to scrape out any old, cracked, or peeling caulk. Clean the surface and let it dry completely — caulk won’t adhere to dirty or damp surfaces.
- Cut the caulk tube tip at a 45° angle for a clean, controlled bead. Pull (don’t push) the gun steadily along the gap for a consistent line.
- Smooth it with a wet fingertip or a caulk tool, then let it cure per the manufacturer’s instructions before getting it wet.
- For gaps wider than ¼ inch, insert a foam backer rod first to fill the space, then caulk over it. For very large gaps (around pipes or wires), use expandable spray foam.
✅ Pro Tip: Use exterior-grade silicone or siliconized latex caulk for outdoor use — regular interior caulk won’t hold up to temperature extremes and moisture.
💰 Estimated cost: $10–15
Step 3: Replace Weatherstripping on All Exterior Doors
⏱ 1–1.5 hours per door
Weatherstripping seals the moving parts of doors and windows — the places where a door meets its frame when closed. There are three main types worth knowing: compression strips (best for door stops), V-strips or tension seals (excellent for door jambs and double-hung windows), and foam tape (great for irregular gaps and quick fixes).
- Peel off the old weatherstripping — most is adhered or tacked in place. Clean the channel or surface with a damp cloth and let it dry.
- Measure the full perimeter you’re covering and cut your new strips to length. For a door frame, run the strip along the top and both sides — all the way around.
- Press or tack the new strip firmly in place, starting at one corner and working your way around.
- Close the door slowly and feel for even resistance all the way around. Adjust if any section feels loose or is causing the door to stick.
✅ Pro Tip: A 1/16-inch crack around a window is equivalent to leaving that window 3 inches open. Proper weatherstripping closes that gap entirely.
💰 Estimated cost: $6–15 per door
Windows, Doors & Final Upgrades
Step 4: Install Door Sweeps on Exterior Doors
⏱ 20–30 min per door
The gap under your front door is one of the biggest sources of heat loss in the entire home. A 1/8-inch gap under your front and back doors lets in as much air as a small window left halfway open. A door sweep fixes this with a quick, inexpensive install — and it makes a difference you’ll feel immediately.
- Measure the full width of your door. Choose a sweep style: automatic drop-down sweeps are sleek and self-adjusting; adhesive or screw-mount rubber sweeps are simple and budget-friendly.
- For screw-mount sweeps: hold the sweep against the door bottom so it just grazes the threshold when the door closes. Mark the screw holes, pre-drill if needed, and attach.
- Open and close the door several times. The sweep should brush lightly against the threshold — tight enough to seal, but not so tight it drags or makes the door hard to open.
- Re-do the paper test from Day One: the paper should now have resistance when you try to pull it through.
✅ Pro Tip: Check the door threshold too — if it’s worn or uneven, a threshold replacement paired with a new sweep gives you the tightest possible seal.
💰 Estimated cost: $10–25
Step 5: Apply Window Insulation Film to Problem Windows
⏱ 15–20 min per window
Window insulation film is a surprisingly effective winter upgrade — especially for older single-pane windows or any windows that still feel cold after sealing. The film creates a secondary air pocket between the glass and your living space, essentially turning a single-pane window into a makeshift double-pane. One source notes it can prevent up to 70% of heat from escaping through the glass. It’s nearly invisible once installed and comes off cleanly in spring.
- Clean the window frame thoroughly. Apply the double-sided tape from the kit around the entire frame perimeter, pressing firmly.
- Cut the film slightly larger than the window opening, then press it gently onto the tape, starting from the top and smoothing outward to avoid wrinkles.
- Use a hairdryer on a medium setting to shrink the film tight — work from the center outward and watch the wrinkles disappear as it contracts.
- Trim any excess film along the tape edge with a sharp utility knife for a clean finish.
✅ Pro Tip: Focus film on north-facing windows and any rooms that feel consistently cold — these give you the best return on effort.
💰 Estimated cost: $15–25 for a multi-window kit
Step 6: Bonus Upgrades for Maximum Impact
⏱ 1–2 hours
If you still have energy left on Sunday afternoon, these additions will push your weatherproofing to the next level — and some take just minutes.
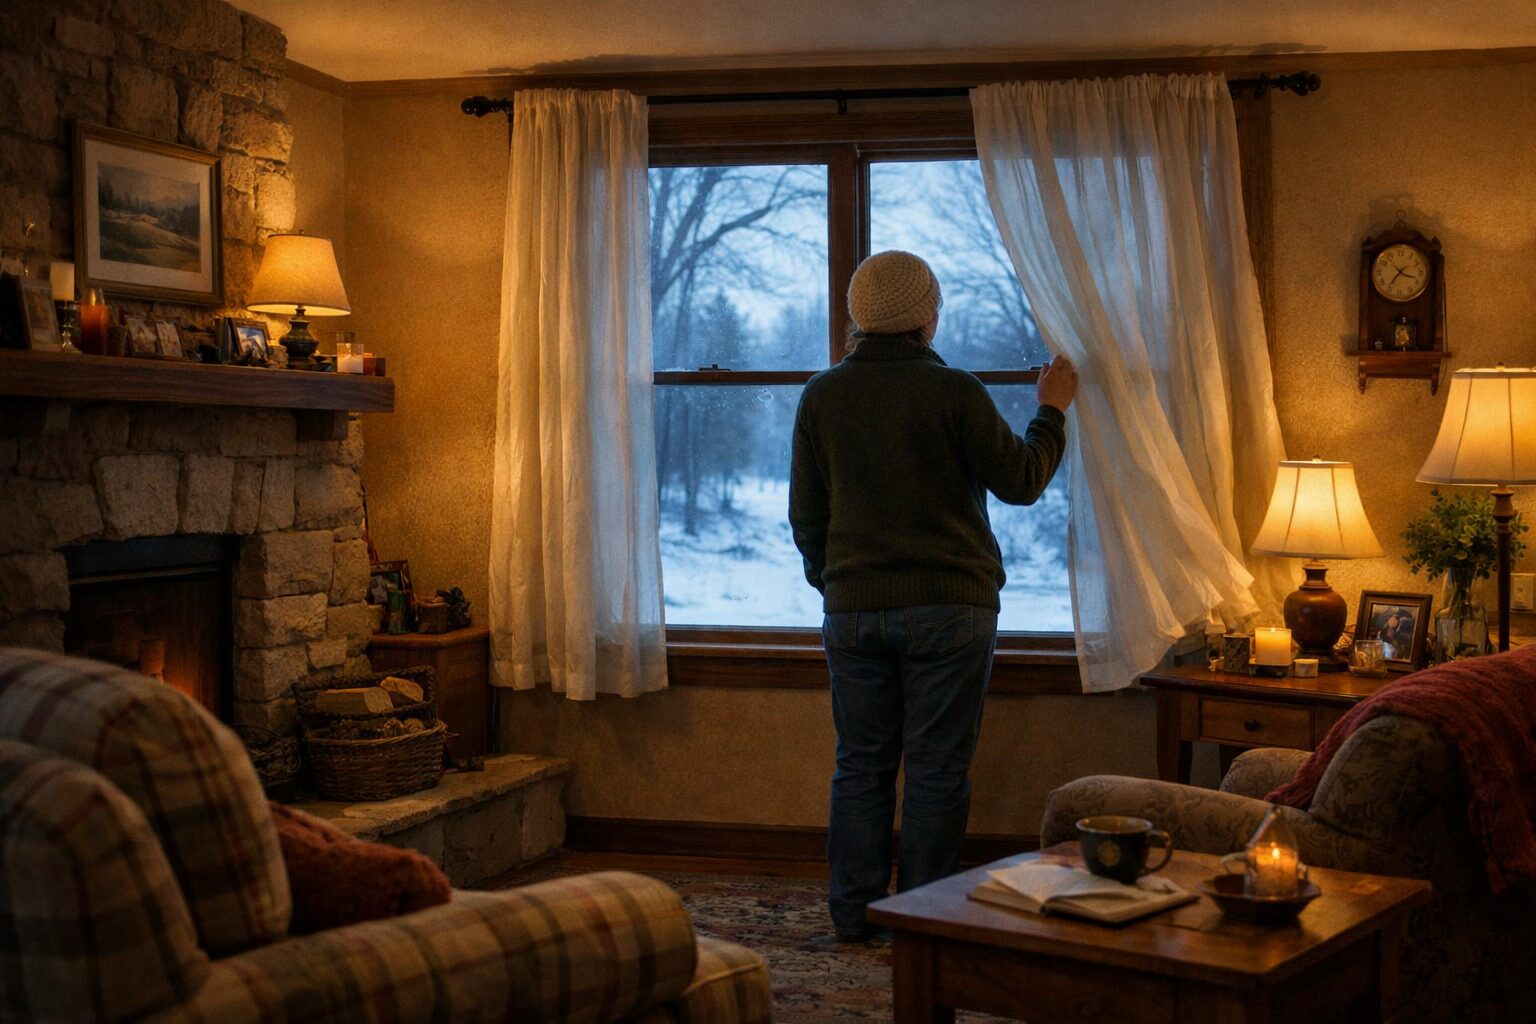
- Thermal curtains: Hang thermal or blackout curtains on your coldest windows. Keep them closed at night to trap heat, open during sunny days to let warmth in naturally.
- Outlet & switch plate insulation: Electrical outlets and light switches on exterior walls are notorious air leaks that almost nobody thinks to seal. Pick up foam outlet gaskets ($3–5 for a pack of 10) and install them in 30 seconds per outlet.
- Draft stoppers: Place fabric draft stoppers along the bases of exterior doors and any interior doors that connect to an unheated garage or basement.
- Smart thermostat: If you don’t have one, install a smart or programmable thermostat this weekend — setting it to reduce heat while you sleep or are away can shave another 10–15% off your bill.
✅ Outlet gaskets are possibly the highest effort-to-reward ratio of any weatherproofing upgrade. A $4 pack can seal 10+ leaks in under 10 minutes.
📊 Your Weekend in Numbers
~$75
8–10 hrs
15%
1 season
Most homeowners report feeling a noticeable improvement in comfort within the first night after completing these steps — and the energy savings compound over years of use. Weatherstripping and caulk last 2–5 years; door sweeps can last 5–10 years with normal use.
⚠️ When DIY Isn’t Enough — It’s Time to Call WindowMan Inc.
These weekend fixes work beautifully for the vast majority of air sealing and weatherproofing needs. But some issues go deeper than caulk and foam tape can reach. Call in a professional if you encounter any of the following:
- Fog or condensation trapped between the panes of a double-pane window — the seal is gone and the unit needs to be replaced.
- Visible water stains, rot, or mold around window or door frames — this signals moisture intrusion that requires a full assessment.
- Drafts that persist even after re-caulking and replacing weatherstripping — the window or door frame itself may be warped, damaged, or improperly installed.
- Windows that are over 20 years old and feel cold to the touch even on mild days — modern Low-E, double or triple-pane units will dramatically outperform them.
- Doors that won’t hang square, latch properly, or show large visible gaps around the frame — this is a structural alignment issue, not a sealing one.
Ready for a Permanent Fix?
When DIY has taken you as far as it can, WindowMan Inc. is your next call. We specialize in window and door replacements that deliver lasting comfort, lower energy bills, and a home that stays warm all winter — guaranteed.